
Views: 0 Author: Site Editor Publish Time: 2026-05-22 Origin: Site


A compromised tractor seating setup is a massive liability. It accelerates operator fatigue, exacerbates chronic back pain, and introduces severe mechanical safety risks during heavy agricultural operations. Replacing a failed seat or base is rarely a simple bolt-on operation. Operators constantly face mismatched mounting hole patterns, fatigued metal components, failed suspension mechanics, and complex electrical interlocks. Operator Presence Switches (OPS) specifically prevent quick and easy hardware swaps. A reliable replacement requires a rigorous evaluation of structural integrity. You must understand both mechanical and electrical compatibility and utilize the right industrial components for your specific machine. We outline the technical process for selecting, modifying, and safely installing a replacement setup below. You will learn to evaluate metal fatigue, wire safety interlocks, and secure the base.
Compatibility is Driven by Spacing: Industry-standard 11" x 11" mounting hole patterns dictate plug-and-play compatibility; deviations require custom adapter plates or universal slide rails.
Safety Interlocks are Non-Negotiable: Modern agricultural machinery seating systems require precise integration of the Operator Presence Switch (OPS) to ensure operational compliance.
Installation Demands Industrial Rigor: Preventing long-term wobble and failure requires using threadlocker, avoiding electrical pinch points, and strictly aligning the seat base over the machinery controls to prevent spinal torque.
TCO Includes Ergonomics: Upgrading from a static base to a mechanical or air suspension system reduces long-term operator injury and downtime, offsetting initial hardware costs.
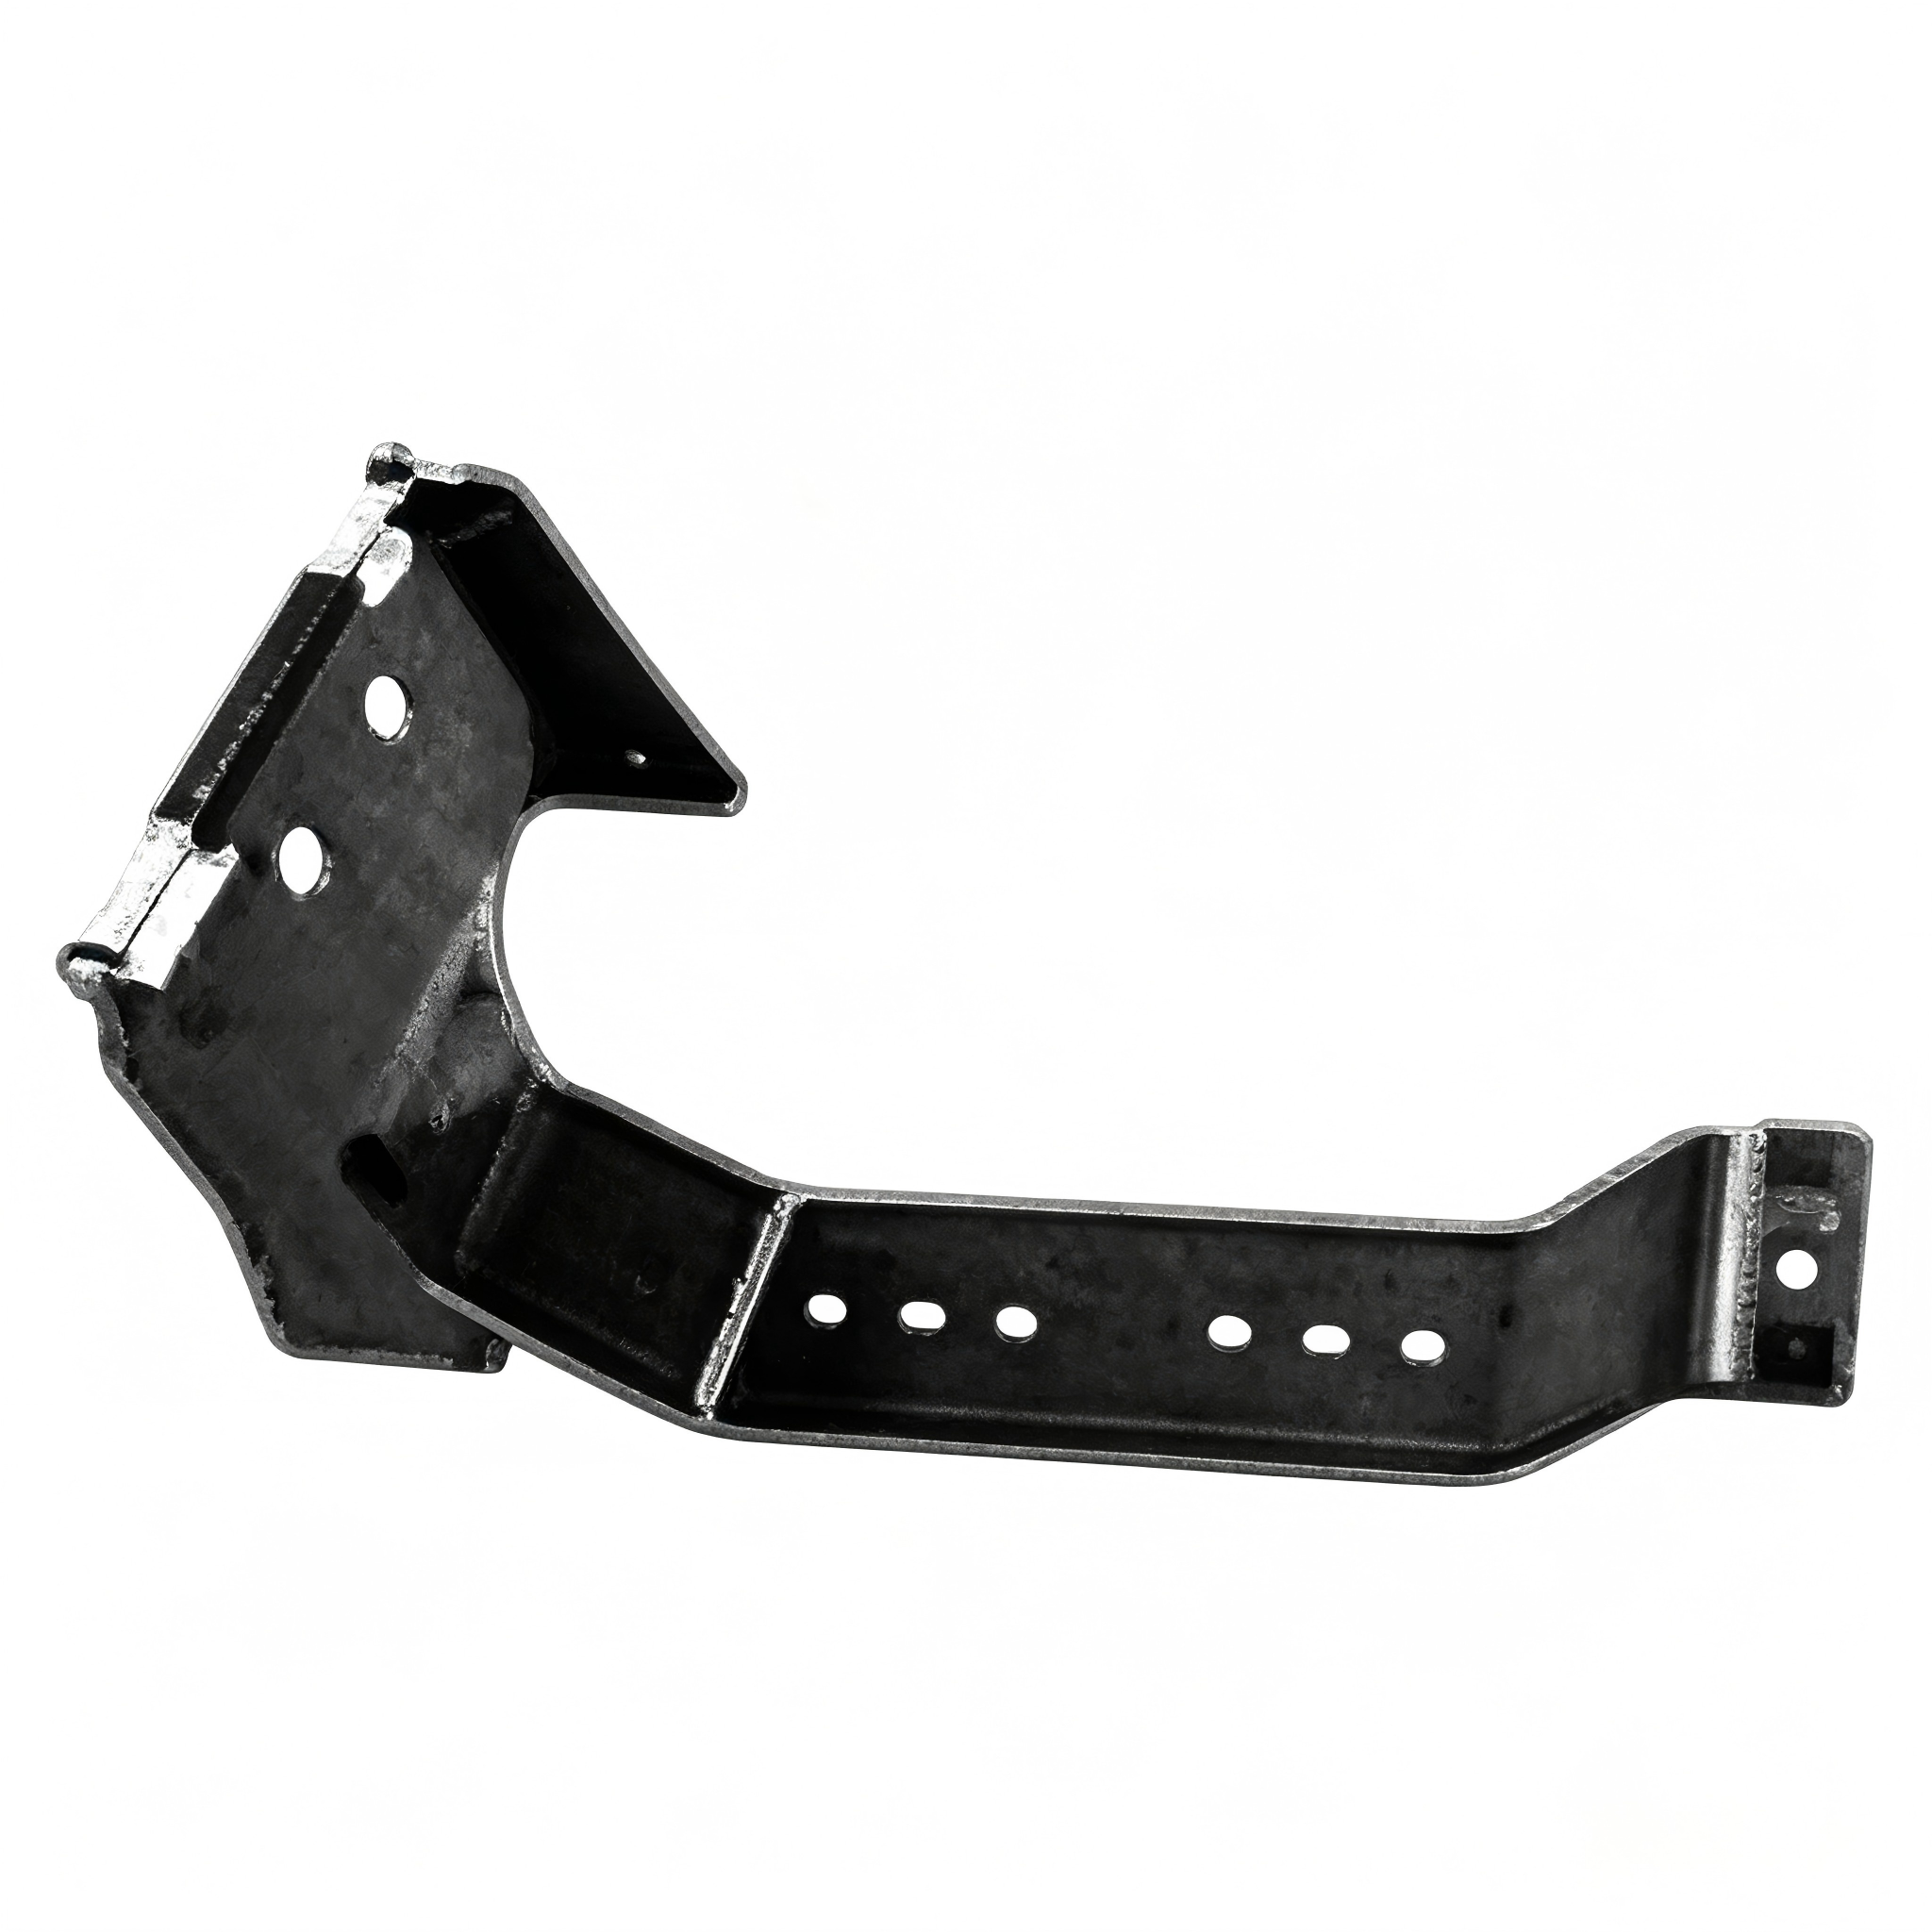
You must differentiate between simple surface degradation and catastrophic structural failure before ordering replacement parts. A torn vinyl cover or compressed foam pad requires a basic cushion replacement. However, structural failure of the underlying sheet metal demands a total assembly replacement. Look closely at the mounting points underneath the carriage. Identify signs of active metal fatigue. You might spot hairline fractures radiating outward from the primary mounting bolts. You may find stripped threading inside the welded nuts, or shearing around the factory welds. You might also notice downward sagging of the platform. This specific sagging causes severe lateral wobbling during field operation. Operating a tractor with a cracked base plate risks sudden mechanical collapse under heavy chassis shock, potentially throwing the operator off the vehicle.
Proper measurement prevents costly return shipments and unexpected fabrication delays. You must map your existing mounting hole pattern precisely. Follow these steps to map your hardware dimensions accurately:
Remove the existing seat cushion and suspension dust cover to expose the bare metal mounting platform.
Use a specialized measuring tape or digital caliper to determine the exact front-to-back distance between the center points of the front and rear mounting bolts.
Measure the side-to-side distance between the center points of the left and right mounting bolts.
Cross-reference these dimensions against the 11" x 11" industry standard to determine if you require an adapter bracket.
Measure the physical clearance distance from the front edge of the seat pan to the steering column at its lowest tilt setting.
Assess the vertical clearance to the floor pedals to ensure full leg extension is still possible after a replacement.
Determine the current engineering style. See if the setup uses a fully integrated suspension base. Alternatively, check if it relies on a static plate bolted directly to the bare chassis. Total Cost of Ownership (TCO) calculations must include these dimensional realities. Mismatched dimensions require extra fabrication time, heavier adapter steel, and customized hardware.
Sometimes exact hardware compatibility remains unclear, especially on vintage agricultural equipment or heavily modified fleet machinery. Do not guess and drill random holes into an expensive new seat frame. Utilize free evaluation services provided by premium seating manufacturers. Specialized agricultural dealers also offer fitment matrix databases. These databases map your machinery’s exact make, model, and year to the correct base plate requirements. You simply provide your tractor serial number and existing suspension brand. They will confirm the exact bolt pattern, the required safety switch logic, and any specific bracket offsets needed to maintain factory ride height.
Match the specific seat profile to your cab environment, window clearance, and daily operation style. Older open-station utility tractors generally utilize 11" and 13" bucket seats, or traditional flat pan models. These distinct shapes allow rapid mounting and dismounting from multiple angles. Enclosed cabs demand entirely different ergonomics. They require low-back, high-back, or ultra high-back profiles to support the operator's spine over extended periods.
| Seat Profile | Ideal Machinery Type | Ergonomic Benefits | Clearance Considerations |
Flat Pan / Low-Back | Vintage Tractors, Open-Station Utility | Allows high mobility and frequent exiting. | Zero rear obstruction. Ideal for tight ROPS bars. |
Mid-Back Bucket | Skid Steers, Compact Loaders | Good lateral support for side-to-side movement. | Fits beneath standard rear-window lines easily. |
High-Back Suspension | Enclosed Cab Row-Crop Tractors | Maximum lumbar and cervical spine support. | Requires checking clearance against rear PTO levers. |
Material selection dictates longevity based on direct environmental exposure. Heavy-duty commercial vinyl is mandatory for cab-less machinery. Industrial vinyl resists ultraviolet degradation for thousands of hours. It repels rain completely and prevents water from soaking the interior foam. It is incredibly easy to clean thick mud off using a standard pressure washer. Breathable cloth fabric belongs strictly inside climate-controlled enclosed cabs. Cloth provides superior temperature regulation and sweat wicking during extreme summer heat. However, cloth will mold and rot quickly if exposed to open rain. Premium seating systems often utilize advanced matrix fabrics to combine tear durability with passive airflow.
Do not underestimate the return on investment of ergonomic upgrades. Prioritize functional features that directly improve daily operator productivity. Built-in adjustable mechanical lumbar support is essential. It mitigates the destructive micro-impacts of prolonged field vibration. Adjustable, pivoting armrests reduce shoulder strain during repetitive steering maneuvers and loader operations. Extended backrests prevent deep muscle spasms. Investing in these heavy-duty enhancements actively reduces operator downtime. It prevents costly medical claims related to chronic agricultural back injuries and repetitive stress disorders.
Universal slide rails act as a mechanical bridge between mismatched components. Integrating these steel rails onto the new plate resolves minor dimensional discrepancies instantly. They provide forward and backward sliding capabilities, usually allowing up to six inches of total travel. This adjustment accommodates operators of varying heights safely. It improves multi-operator ergonomics significantly. It ensures every driver maintains proper leg extension to the heavy mechanical clutch and brake pedals. Slide rails eliminate the need to redrill the tractor chassis every time a different farmhand operates the machinery.
You can explore highly cost-effective alternatives to expensive OEM dealer replacements. Smart operators often utilize discounted skid loader seats or adapt commercial zero-turn mower suspension seats. Specific commercial landscaping brands produce incredibly robust seats with heavy steel frames. These commercial alternatives can often be retrofitted onto agricultural tractors for under a hundred dollars. They provide excellent suspension travel for uneven ground. They utilize durable, weatherproof vinyl materials designed to withstand outdoor storage. This specific cross-compatibility hack saves hundreds of dollars while visibly upgrading the ride quality.
Mismatched holes require customized structural fabrication. You can manufacture a custom heavy-duty steel bridge to connect incompatible parts safely. Follow this fabrication process:
Procure a solid sheet of 1/4-inch thick A36 cold-rolled steel to prevent bending under operator weight.
Map the original tractor chassis bolt pattern onto the bottom side of the steel using a tungsten scribe.
Map the new aftermarket seat bolt pattern onto the top side of the steel sheet.
Use a heavy-duty drill press and a cobalt drill bit with cutting fluid to bore the respective holes.
Deburr all drilled holes with a round file to prevent stress fractures from forming at the edges.
Paint the raw steel with industrial rust-inhibiting enamel to prevent accelerated oxidation.
This fabrication method retains the original tractor suspension frame while allowing modern, comfortable seat integration.
Sometimes the underlying base plate remains structurally sound, and the suspension mechanism functions perfectly. However, the vinyl surface may be deeply split and shedding yellow foam across the cab. You do not need a full hardware replacement yet. Implement budget-friendly riding mower seat covers. These heavy-duty waterproof fabric covers act as an immediate protective barrier. They slip directly over the cracked vinyl and secure with a heavy drawstring. They prevent further moisture ingress that would otherwise rot the interior foam. This low-cost stopgap extends the life of the seat cushion for several seasons.
Evaluating technical trade-offs is required when upgrading a static seat base support plate for tractor setups. Mechanical suspensions use heavy steel coil springs and internal hydraulic shock absorbers. They are highly reliable, weather-resistant, and require zero electrical power to function. Air suspensions utilize internal 12V pneumatic compressors and heavy-duty rubber airbags. They provide infinitely adjustable ride heights based on operator weight. Advanced pneumatic setups completely eliminate harsh chassis shock. They incorporate forward and backward isolators to reduce jerking. They feature side-to-side isolators for hillside stabilization. They also utilize mechanical swivel base mechanisms for continuous rear-implement monitoring without twisting the operator's spine.
| Feature | Mechanical Suspension | Air Suspension |
Vibration Dampening | Moderate. Good for medium-sized bumps and basic utility work. | Superior. Eliminates micro-vibrations and heavy shock entirely. |
Adjustability | Manual tension dial requires physical effort to set operator weight. | Infinite push-button pneumatic pressure adjustment takes seconds. |
Maintenance Needs | Low. Requires occasional lithium greasing of steel scissor joints. | Moderate. Requires checking plastic airlines and compressor relays. |
Cost & Complexity | Highly affordable, simple bolt-on installation with hand tools. | Expensive, requires dedicated 12V wiring and pneumatic clearance. |
Air suspensions require strict electrical and physical integration logistics. You must evaluate the base plate requirements thoroughly before purchasing. Verify the maximum payload capacity of the mounting hardware. Air systems generate different vertical stress vectors than rigid static plates, requiring thicker steel. Measure the physical clearance under the seat carriage carefully. You must ensure enough physical room exists for the internal 12V air compressor to operate without touching the chassis. You must safely map the pneumatic line routing. Plastic hoses must never rub against moving steel scissor joints. Chafed pneumatic lines cause immediate and total suspension collapse, dropping the operator onto the hard stops.
Establish strict safety baselines before picking up a single wrench. Park the tractor on solid, level ground to prevent rolling. Engage the mechanical parking brake fully. You must disconnect the battery negative terminal immediately. This prevents accidentally shorting sensitive seating electronics or delicate safety sensors during removal. Document the existing wiring setup. Take clear, well-lit photos of all wiring harnesses underneath the carriage. Label every wire with masking tape before unbolting the old base plate. Remove the old bolts carefully using penetrating oil if they are rusted. Retain the old hardware temporarily for thread-pitch reference when buying new fasteners.
Address any mismatched 11" x 11" bolt patterns immediately. Install your custom or purchased heavy-duty steel adapter plates. Mount the adapter plate loosely to the chassis first. Ensure the new Tractor Seat Base Support Plate is perfectly leveled horizontally. You must center the seat directly behind the steering wheel. It must align perfectly with the clutch and brake foot pedals. Misalignment is a severe operational error. It causes uneven weight distribution across the base plate. It places severe, chronic spinal torque on the operator during daily steering. Center the entire unit, sit on it to verify the ergonomic feel, and then mark your final tightening positions with a grease pencil.
Heavy farm machinery violently destroys weak hardware. Mandate the use of appropriate industrial-grade fasteners for this specific task. Use only standard Grade 8 or metric Class 10.9 zinc-plated bolts for seat mounting. These hardened bolts resist the extreme shear forces generated by a bouncing cab. Apply medium-strength blue threadlocker liquid to all mounting points. Torque every single bolt through the seat base support plate to the exact manufacturer foot-pound specifications using a calibrated torque wrench. Using threadlocker eliminates operational vibration loosening. It prevents metal fatigue from developing around the mounting holes. It completely stops the seat from wobbling during heavy ground-engaging work like plowing or discing.
The Operator Presence Switch is a mandatory safety interlock. The OPS physically tells the main machinery engine control unit that an operator is securely seated. If you stand up or fall off the machine, the OPS instantly kills the power take-off (PTO) or shuts off the fuel solenoid to stop the engine. You must differentiate between switch types before splicing wires. Some are simple normally-open two-wire continuity loops. Others are complex internal safety sensors tied into seat depth, weight tension, and tilt functions. You must splice these correctly using heat-shrink waterproof butt connectors. You can also integrate auxiliary electronics safely at this stage. Wire your 12V heated cushions to a dedicated, fused accessory circuit. Connect high-visibility safety belt sensors to fleet management telematics boards if your operation requires remote monitoring.
Mechanical and air suspension bases contain heavy, moving scissor mechanisms that act like giant metal shears. Provide strict guidelines for routing all wiring harnesses. Route electrical cables carefully along the static edges of the seat base support plate for agricultural machinery seating systems. Ensure all exposed wires are heavily zip-tied to non-moving anchor points. Route them securely away from mechanical pinch points. Keep wires far away from sliding rail tracks. A crushed OPS wire will instantly short out and kill the tractor engine in the middle of a field, requiring an emergency tow. Use split corrugated wire loom to protect all exposed wire runs against continuous chafing and catastrophic electrical shorts.
Do not send the tractor straight to the field after tightening the final bolt. Perform rigorous static tests first. Adjust the operator weight tension settings to match the primary driver. Dial in the backrest angles perfectly. Test the slide rail limits from end to end to ensure the seat does not hit the rear glass. Reconnect the main battery and start the engine. Conduct a low-speed test drive over uneven, bumpy terrain. Verify that the seat frame remains completely secure without rattling, shifting, or wobbling. Check the safety interlocks. Engage the PTO at a low idle, then lift your physical weight off the cushion. The engine or PTO must shut off immediately. If it fails to disengage, park the machine and rewire the OPS switch.
Pneumatic air systems require specific troubleshooting protocols when they fail to pressurize. Use this diagnostic matrix to isolate internal hardware issues quickly.
Symptom A: The seat fails to lift, and the internal compressor remains completely silent. First, check the main 12V power supply with a digital multimeter. Verify the ground connection bolted underneath the cab frame. Inspect the inline blade fuse for thermal blowouts.
Symptom B: The compressor runs continuously, and the seat is fully pressurized but won't shut off. Inspect the mechanical pressure relief valve for sticking. Check for a faulty upper limit switch that fails to signal the compressor relay to cut power.
Symptom C: The compressor runs loudly, but the seat will not lift the operator. Check for severely kinked pneumatic plastic lines under the carriage. Look for punctured heavy-duty rubber air bags. Listen closely for hissing air leaks around the brass push-to-connect fittings.
Symptom D: The seat remains permanently inflated and will not lower or deflate when exiting the cab. Inspect the air exhaust dump valve for severe dirt or mud blockage. Clean the internal valve mechanism thoroughly with compressed air and silicone spray.
Follow these exact steps to complete your tractor seat replacement project safely and securely:
Measure your existing bolt pattern exactly using a precision tape measure to verify the 11" x 11" industry standard.
Verify the continuity and health of your current OPS wiring using a digital multimeter before ordering replacement parts.
Consult with a specialized seating components dealer to confirm specific adapter plate requirements.
Acquire Grade 8 hardware, wire loom, and blue threadlocker before beginning the teardown process.
A: You must install a heavy-duty steel adapter plate. Bolt the 1/4-inch steel adapter plate to your tractor's original chassis holes. Then, bolt the new seat to the pre-drilled holes on top of the adapter plate. Never drill random holes directly into a weak factory chassis frame.
A: Yes. Many commercial skid loader and zero-turn mower seats use the standard 11" x 11" square mounting pattern. They are highly durable, completely weatherproof, and often much cheaper than OEM tractor seats. You simply bolt them directly to your existing plate using standard hand tools.
A: The OPS is a mandatory electrical safety sensor built directly into the bottom seat cushion. It detects the physical weight of the operator. If you fall off or stand up while the heavy machinery blades or PTO are running, the OPS instantly shuts down the engine to prevent fatal accidents.
A: Wobbling occurs when mounting hardware loosens due to severe field vibration, or if the underlying base metal is fatigued. You must use hardened Grade 8 bolts, apply medium-strength liquid threadlocker, and torque the hardware to exact factory specifications to stop lateral movement.
A: Encase all electrical wires in a protective corrugated plastic loom. Route the loom tightly along the stationary bottom plate. Zip-tie the harness securely every few inches, keeping it entirely clear of the moving scissor mechanism and sliding metal rail tracks to avoid crushing the sensitive wires.
A: The most common industry standard for aftermarket agricultural and commercial seating is an exactly square 11-inch by 11-inch bolt pattern. Measuring your current setup against this specific standard determines if you need to fabricate or purchase a custom adapter plate.


